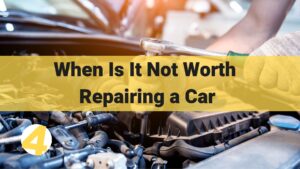
Car leaking oil when parked? Follow these steps to solve it:
- Diagnose the leak source and identify the oil type.
- Prepare the tools needed for repair.
- Fix the common oil leak issues.
- Adopt preventive maintenance routines.
- Monitor oil levels.
- Evaluate repair costs.
- Decide between DIY or seeking professional help.
Curious about these steps in detail? Continue reading to get a comprehensive guide on each.
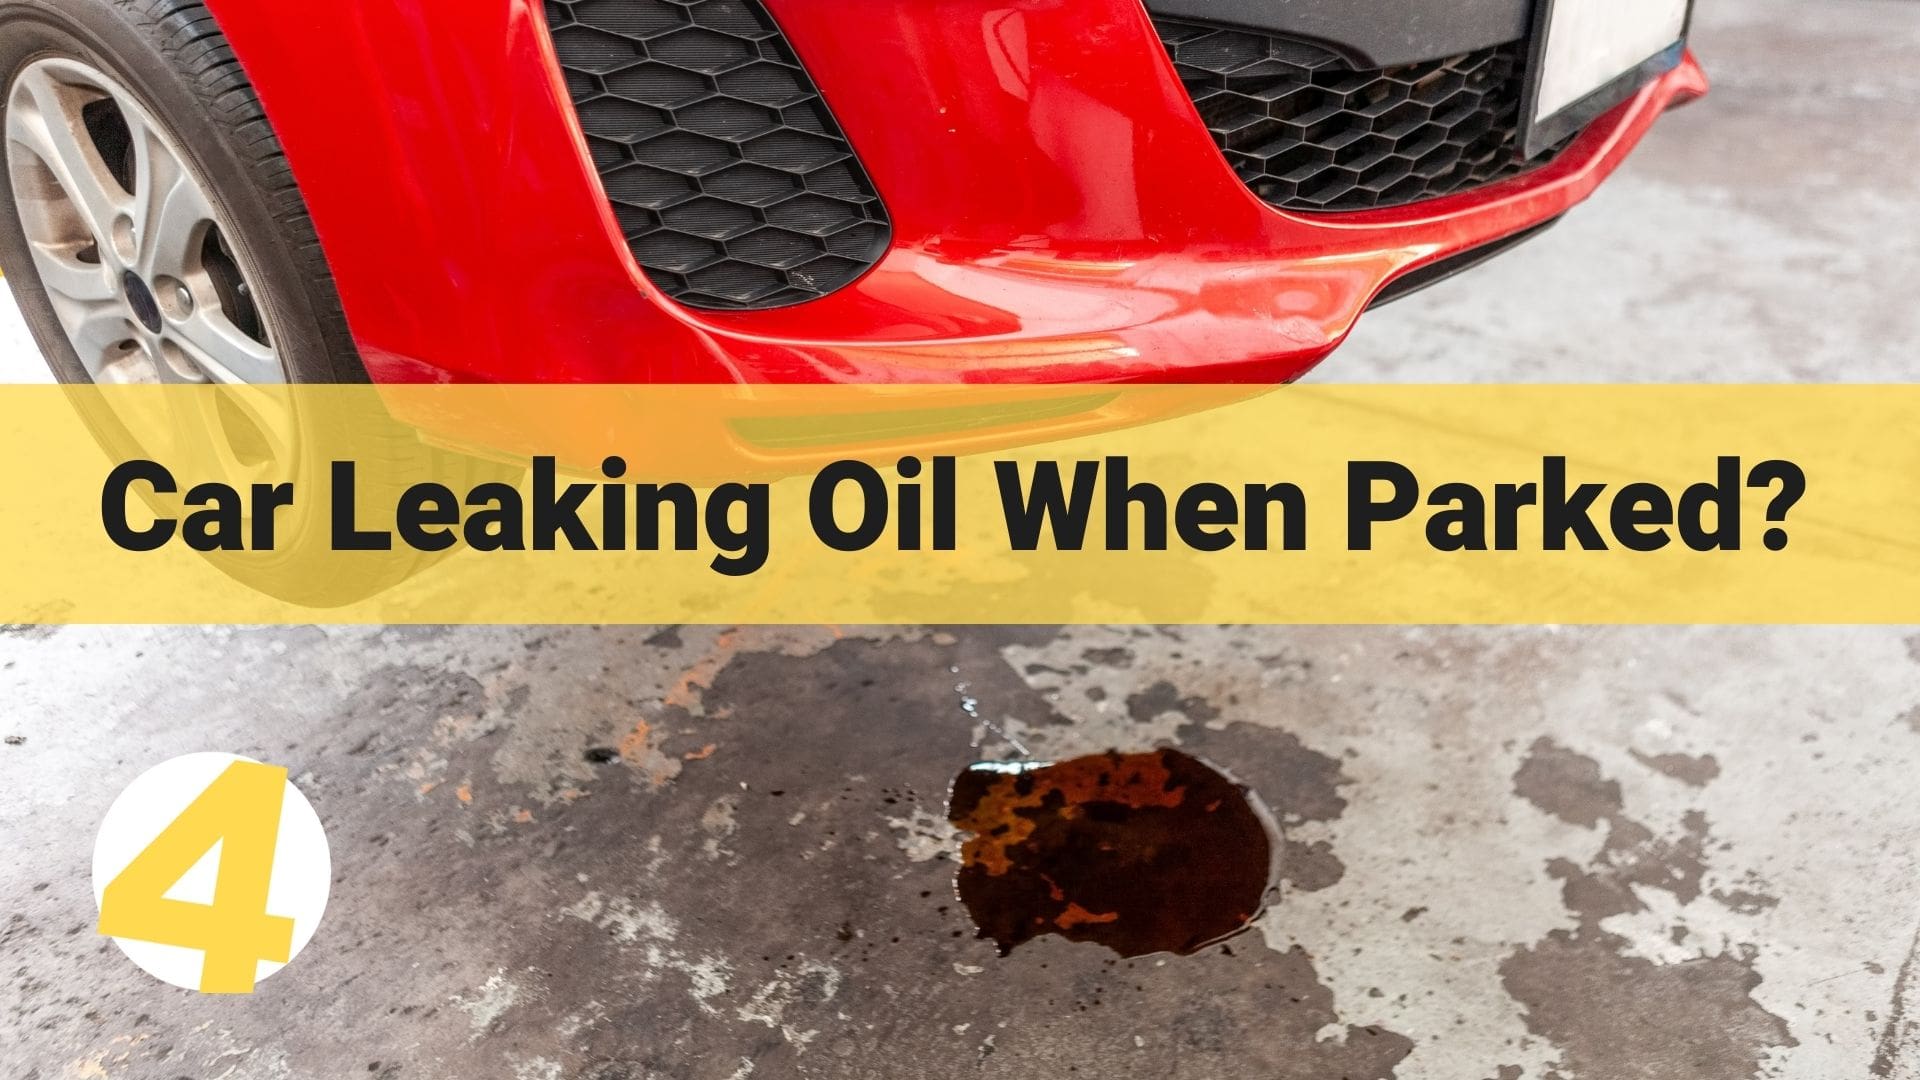
Oil leaks from a parked car are a common yet concerning issue faced by many vehicle owners. Such leaks not only stain driveways but can also lead to more significant mechanical problems and potential hazards if not addressed. Doing something about the problem promptly will not only save you money in the long run but also ensure the safety of your vehicle and everyone inside it.
Step 1#: Diagnosis
Here are some of the most common reasons behind oil leaks:
Worn Gaskets
The gasket is a seal that fits between two machine parts and prevents oil from leaking out. Over time, due to temperature fluctuations, pressure, and wear-and-tear, gaskets can deteriorate, lose their sealing capacity, and result in leaks. The most vulnerable is the oil pan gasket, located beneath the car.
Damaged Seals
Seals, particularly the front and rear main seals, play a crucial role in preventing oil from seeping out of areas where rotating shafts come out of the engine, such as the front crankshaft and the rear of the transmission. Aging, constant use, and exposure to harsh conditions can wear these seals out.
Loose Components
Over time, parts like the oil filter, oil fill cap, or oil drain plug might become loose. For instance, if an oil filter isn’t tightened correctly after an oil change or if the drain plug gets worn out, it can lead to oil leaks.
Oil Pan Damage
The oil pan, located at the bottom of the engine, is prone to damage, especially for vehicles frequently driven on rough terrains. Rocks, debris, and rough roads can cause punctures or dents in the oil pan, leading to leaks.
Cracked Engine Blocks
This is a less common but more serious issue. The engine block can crack under extreme conditions, leading to significant oil leaks. It’s also the most expensive to fix.
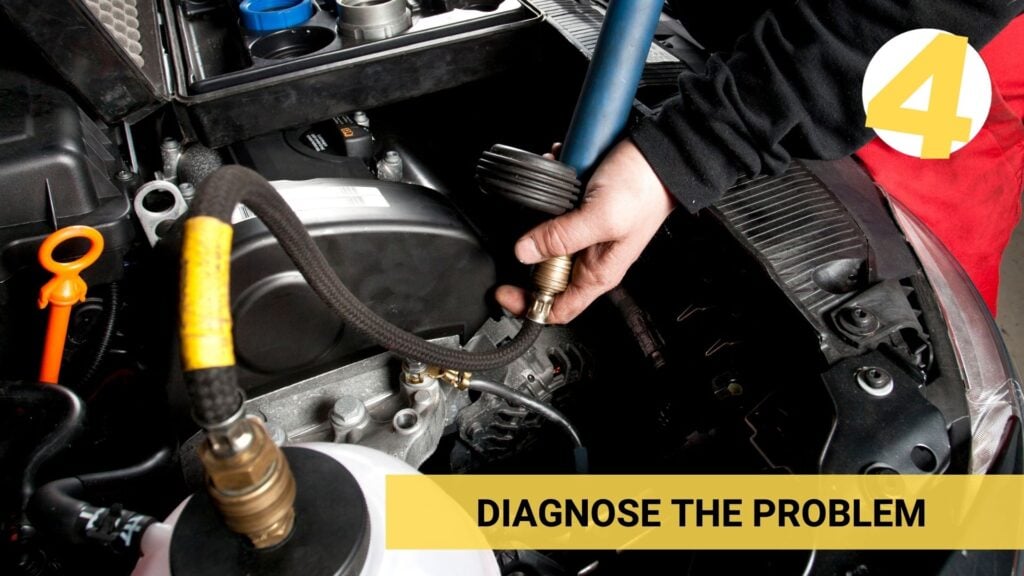
Detecting the exact location and source of an oil leak is the key to implementing an effective fix. Begin by parking your vehicle on a clean surface, ideally a light-colored one, and let it sit for a while. This will allow you to see fresh oil spots underneath and give you an initial indication of where the leak might be coming from.
Different fluids have distinct colors and textures:
- Engine Oil. Typically brown or black (depending on its age), and its consistency will be slick and slightly thick.
- Transmission Fluid. Often red or green, and it’s thinner than engine oil.
- Power Steering Fluid. This can be similar in color to transmission fluid but might have a different smell.
- Brake Fluid. Usually light brown and has a slightly oily feel, but it’s less slick than engine or transmission oils.
By distinguishing between these fluids, you can get a clearer idea of which component of your vehicle might be leaking. For a more detailed inspection, especially if it’s dark, use a flashlight to get a better view of the underside of your car. Look for areas where the oil seems to be dripping off or where components seem unusually wet or covered in grime.
Examine areas that are frequent sources of leaks. This includes the oil pan, oil filter, valve cover gaskets, oil filler cap, and the oil drain plug. If the source of the leak remains elusive, consider using a UV dye designed for vehicles. You’d add this dye to the oil, run the vehicle for a while, and then inspect it using a UV light. The leaking areas will glow under the UV light, indicating the source of the leak.
Safety should always be the primary concern when inspecting your vehicle for oil leaks or any other issues. Here are some safety precautions to bear in mind:
- Use Protective Gear. Always wear gloves to protect your hands from hot surfaces and potential irritants. Safety goggles can protect your eyes from any dripping oil or debris.
- Ensure Proper Ventilation. Fumes from the vehicle can be harmful if inhaled in large amounts.
- Use Jack Stands. If you need to lift your car for a better look underneath, never rely solely on a jack. Always use jack stands to ensure the vehicle is stable and secure.
- Work on a Flat Surface. Always inspect your vehicle on a flat and stable surface to prevent any accidental movement.
- Cool Down the Engine. Never inspect the vehicle immediately after driving it. Let the car cool down for a few hours before checking for leaks.
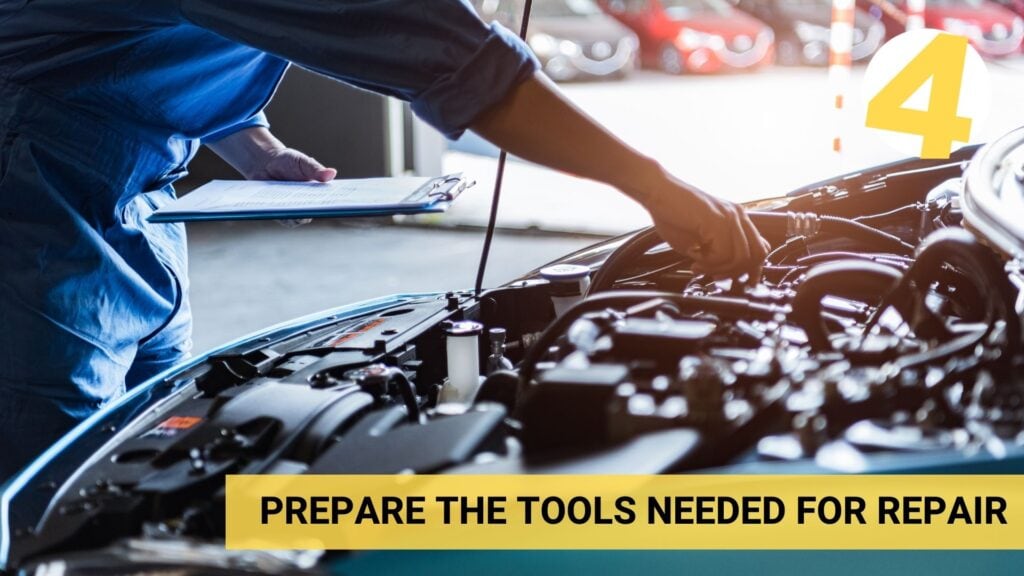
Step #2: Prepare the Tools and Materials Needed for Repair
When addressing oil leaks, having the right tools and materials on hand is crucial for an efficient and effective repair process. Here’s a list of common items you’ll need:
Basic Tools
- Wrench set. For removing bolts and other fasteners.
- Screwdrivers. Various sizes, both flathead and Phillips.
- Oil filter wrench. Specifically designed to remove the oil filter.
- Jack and jack stands. To safely lift and support the vehicle.
Materials
- Replacement gaskets. Always choose high-quality gaskets suitable for your vehicle make and model.
- Oil and oil filter. If you’re draining the oil, you’ll need fresh oil and possibly a new filter.
- Washer for the drain plug. Essential for preventing future leaks.
- Epoxy (for minor repairs). Useful for patching minor holes or cracks in the oil pan.
- Clean rags. For cleaning up and wiping off excess oil.
- Drain pan. To catch any oil that spills or leaks during the repair process.
Always consult your vehicle’s manual before attempting any repairs, as specific requirements can vary based on the make and model. If a repair seems too challenging or if you’re unsure about any steps, seeking professional assistance is recommended.
Step #3: Fix Common Oil Leak Issues
Here are step-by-step instructions for fixing some of the most common oil leak problems:
Replacing a Damaged Oil Filter
- Place a drain pan under the filter to catch any dripping oil.
- Using an oil filter wrench, unscrew the old filter.
- Before installing the new filter, apply a little fresh oil to the rubber gasket at the top of the filter. This ensures a better seal.
- Screw in the new filter. Ensure it’s hand-tight; do not overtighten.
Fixing a Leaking Oil Pan Drain Plug
- Position a drain pan under the oil pan, remove the drain plug, and allow the oil to drain out.
- Replace the old washer with a new one. If the drain plug itself is damaged, consider replacing it.
- Reinstall the drain plug. Make sure it’s snug but not overtightened.
Addressing a Valve Cover Gasket Leak
- Remove any components obstructing access to the valve cover, such as air intake parts.
- Unbolt the valve cover and remove it.
- Take off the old gasket and clean the gasket seating area thoroughly.
- Place the new gasket on the valve cover.
- Reinstall the valve cover, ensuring even tightness of all bolts.
- Reassemble any previously removed components.
Repairing a Damaged Oil Pan
- Drain the oil from the pan.
- Remove any bolts securing the oil pan, and then remove the pan.
- Clean the oil pan thoroughly. If there are small holes or cracks, they can be patched using a suitable epoxy. If damage is significant, consider replacing the oil pan.
- Install the oil pan with a new gasket, securing it evenly.
Step #4: Adopt Preventive Maintenance and Measures
Here’s a detailed guide to preventive measures that can help safeguard your vehicle against oil leaks:
Regular Oil Changes
Stick to the recommended oil change intervals for your specific vehicle, typically found in the owner’s manual. Most experts suggest changing the oil every 3,000 to 5,000 miles for conventional oil or up to 7,500 miles for synthetic oil. Always use high-quality oil and oil filters. Sub-par products can degrade faster and may not provide an adequate seal, leading to potential leaks.
Inspect Oil Pan and Undercarriage
Regularly inspect the oil pan for any signs of damage. If you often drive on rough roads, rocks, and debris can cause dents or even puncture the pan. After oil changes, ensure the oil drain plug and oil filter are installed correctly. Over-tightening or cross-threading can lead to issues.
Check Gaskets and Seals
Over time, engine gaskets and seals can become brittle or warped. Periodically inspect these components, especially the more vulnerable ones like the valve cover gasket and oil pan gasket. Consider replacing them proactively if they start showing signs of wear, even if they aren’t actively leaking yet.
Maintain Proper Oil Levels
Overfilling your engine with oil can increase the pressure inside, leading to leaks. Always ensure you’re adding the right amount. Routinely check the oil level using the dipstick. If you notice a sudden drop in oil levels, investigate for potential leaks.
Use Oil Additives
There are specific oil additives in the market designed to rejuvenate seals and gaskets, making them more resilient. These can be added during oil changes. While not a permanent solution, they can extend the life of your gaskets and seals, delaying potential leaks.
Avoid Over-stressing the Engine
Regularly revving the engine to high RPMs, towing heavy loads without proper equipment, or consistently driving in stop-and-go traffic can accelerate wear and tear. Drive smoothly and avoid pushing your vehicle to its limits without reason.
Stay Alert to Warning Signs
Keep an eye out for early indicators of oil leaks, such as oil spots on your driveway, a burning oil smell, or blue smoke from the exhaust. Addressing these signs early can prevent larger issues down the line.
Routine Professional Inspections
In addition to your DIY checks, consider getting your vehicle inspected by professionals periodically. They can spot potential issues that might escape the untrained eye.
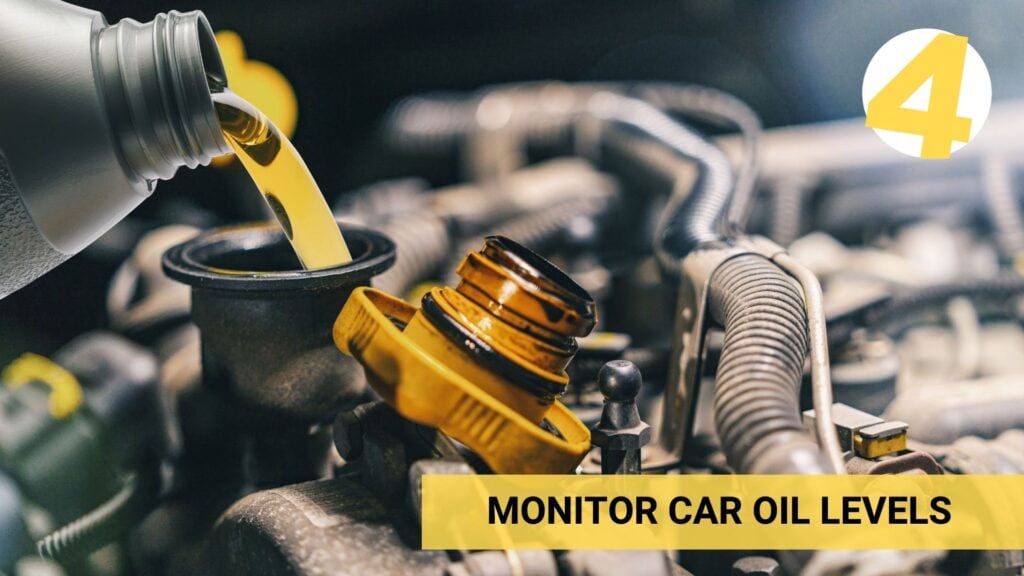
Step #5: Monitor Oil Levels
Oil plays an important role in ensuring the smooth operation of your vehicle’s engine. Regularly monitoring the oil level and being vigilant about potential leaks is not just about preventing stains on your driveway; it’s about ensuring the longevity, efficiency, and safety of your vehicle.
Engine Lubrication
The primary function of engine oil is to provide lubrication to the moving parts of the engine. Without adequate oil, these parts can create excessive friction, which can cause premature wear and tear.
Operating an engine with low oil levels can result in metal-on-metal contact, causing irreversible damage and potentially even engine failure.
Temperature Regulation
Apart from lubrication, oil dissipates heat generated by the engine’s moving parts. Insufficient oil means the engine can’t effectively manage its temperature. Overheating due to low oil levels can cause various components to warp, melt, or seize.
Contaminant Removal
As oil circulates through the engine, it picks up various contaminants and debris. Regularly checking and changing the oil ensures that these contaminants don’t accumulate and cause corrosion or damage. If the oil level is low, it means there’s less fluid to pick up and carry away these contaminants, which reduces the oil’s effectiveness.
Fuel Efficiency
Proper lubrication from having the right amount of oil in the engine contributes to better fuel efficiency. Without it, the engine has to work harder, consuming more fuel in the process.
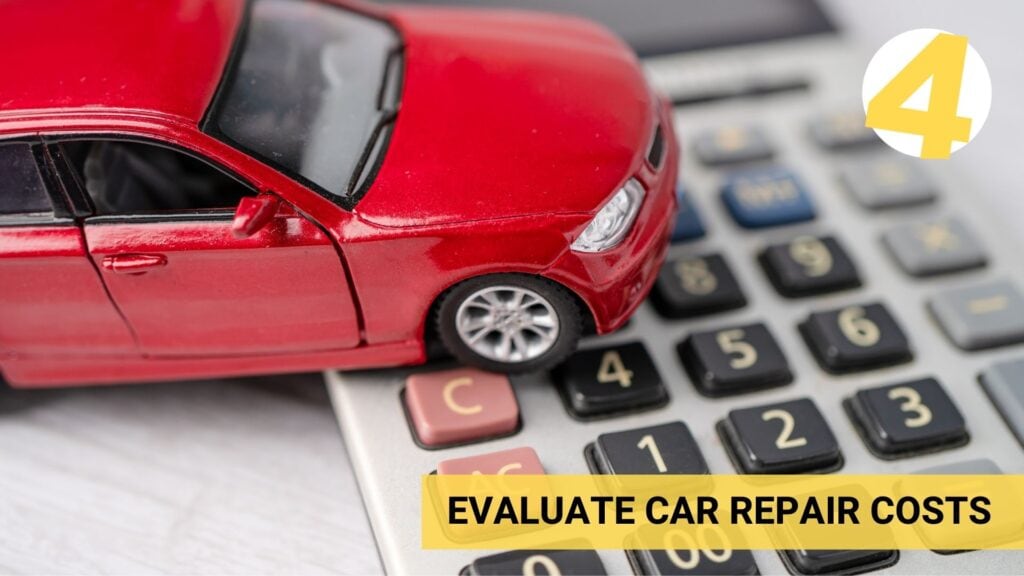
Step #6: Evaluate Repair Costs
While the exact cost of repairing an oil leak can vary based on several factors, here are some estimated figures for common oil leak repairs:
Oil Filter Replacement: $10 – $50
Most of the cost here is for the filter itself, which can range from $5 to $30, depending on the vehicle model and filter quality. Labor is minimal as it’s a straightforward job.
Oil Pan Drain Plug Replacement: $15 – $50
This includes the cost of a new plug and washer, with labor usually taking less than an hour.
Valve Cover Gasket Replacement: $50 – $300
The variance here depends on the complexity of the engine and the labor involved. For most cars, the cost will be at the lower end, but luxury or high-performance vehicles might be at the higher end.
Oil Pan Replacement or Repair: $100 – $1,000
The wide range here is due to the variety of vehicles and the location of the oil pan. On some cars, several components might need to be removed to access the oil pan, increasing labor costs.
Main Seal Replacement: $400 – $1,200
This is one of the more expensive repairs as it often requires removing either the engine or transmission to access the seal.
Remember, these are rough estimates, and actual costs can vary based on labor rates, parts pricing, and other factors, which include the following:
Vehicle Make and Model
Luxury or high-performance cars often have parts that are pricier and labor that are more intricate. For instance, replacing a gasket on a standard sedan will usually cost less than on a premium SUV or a sports car.
Extent of the Damage
A minor leak from a loose bolt will be much cheaper to fix compared to a major leak resulting from a damaged oil pan or a failed main seal.
Location of the Leak
Leaks that are easy to access can be fixed more quickly, thus costing less labor. In contrast, leaks from components buried deep within the engine bay can be labor-intensive and hence, more expensive.
Labor Rates
Repair costs can vary based on geographic location and whether you’re using a dealership, an independent garage, or a specialist. Dealerships generally have higher labor rates than independent garages.
Parts Used
The choice between OEM (original equipment manufacturer) parts and aftermarket parts can influence the cost. OEM parts are usually more expensive than their aftermarket counterparts but may offer better quality or a more precise fit.
Additional Services
Sometimes, when addressing an oil leak, other issues might be spotted, or it may be opportune to perform additional preventive maintenance. While this can increase the immediate cost, it might save money in the long run.
Local Market Conditions
Prices for parts and labor can be influenced by local demand, availability, and even regional economic conditions.
Step #7: Decide Whether DIY or Pro
Both options come with their own sets of advantages and disadvantages. Let’s explore them in detail.
DIY Repair
Going the DIY route can save you money, especially on labor costs, which can be significant depending on the repair. Fixing your own vehicle can also be educational and can provide a sense of accomplishment. Over time, these skills can accumulate, making you more self-reliant with car issues. Furthermore, you can choose when to perform the repair and take as much time as needed without the pressure of hourly labor costs.
However, without proper knowledge or experience, a seemingly small problem can quickly escalate into a bigger issue. Without the right tools or know-how, what might take a professional mechanic an hour could take an entire day or more for a DIYer. Plus, incorrect repairs, especially those involving critical components, can lead to safety concerns.
Professional Mechanic
A seasoned mechanic has the experience and know-how to efficiently diagnose and repair a wide variety of issues. Professional garages are equipped with specialized tools and diagnostic equipment that the average car owner doesn’t have. Moreover, many repair shops offer warranties for their work, providing peace of mind.
On the other hand, labor and parts can be more expensive, especially if you choose to go to a dealership. Depending on the shop’s workload, you might have to leave your vehicle there for several days. It’s essential to find a reliable mechanic. While many are honest and transparent, there are unscrupulous ones that might suggest unnecessary repairs.
So which one do you choose? DIY or a mechanic?
If the repair is something you’ve done before or seems straightforward after researching, it might be worth trying yourself. On the other hand, if it involves critical systems or is beyond your skillset, it’s wise to defer to a professional.
You must also consider the tools. Some repairs might require specialized tools or equipment. If you don’t have access to these, it can make the repair more challenging or even impossible.
Moreso, if you’re under a time crunch, a mechanic can usually get the job done faster. Never attempt repairs if you’re unsure about them, especially when it comes to crucial components like brakes or steering. A mistake here can have dire consequences.
From Leaks to Liquid Assets: Ready to Dive In?
Addressing the problem promptly with a car leaking oil when parked not only prevents potential damage and safety risks but also minimizes any legal implications. If, after understanding the nuances of oil leaks, you feel your vehicle might be more trouble than it’s worth, consider partnering with a trusted solution like Cash4Cars.
As our name suggests, we’re a company that offers cash for junk cars. We at Cash4Cars provide an efficient and rewarding service. We offer a seamless, transparent, and convenient service that ensures you don’t have to grapple with the hassles of selling your car.
So, whether you’re looking to address your car’s oil leak or considering selling it, remember that solutions are always at hand. Turn to the experts at Cash4Cars for a hassle-free experience, and reverse the challenges into opportunities. Call us now for a free quote.